
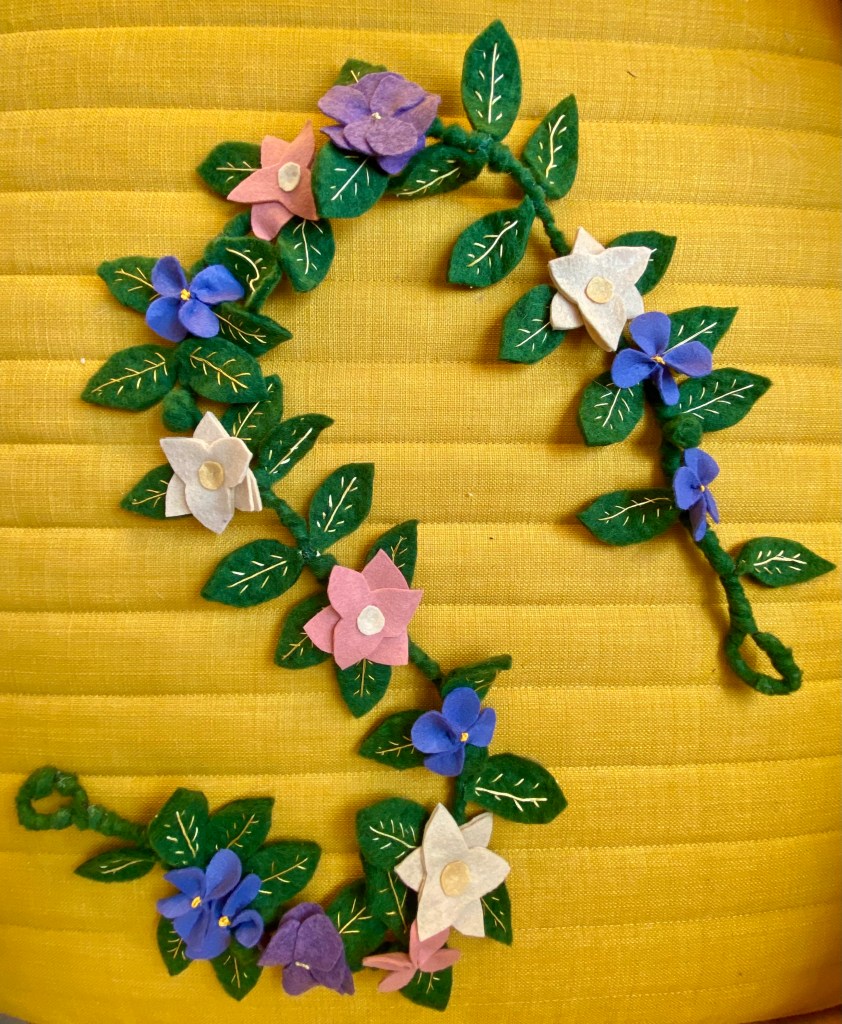
This is one of my favorite things that I have made so far. The garland is currently living on my entertainment center, adding some much needed color to my new beige apartment. Felt is heavily associated with kids projects, but the gorgeous colors and textures keep this from looking childish. I’m considering making a little flower crown for Earth Day with the leftover felt. As with a lot of projects, it took me longer than I thought; I also thought it might be kid friendly but forming the flowers themselves was fiddly work. Worth it though.
Supplies
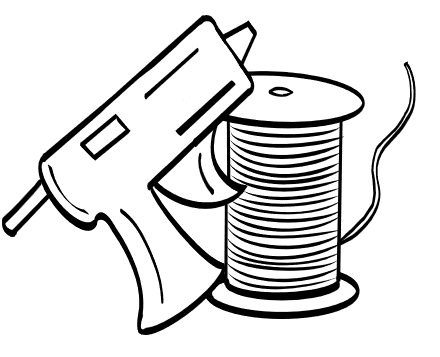
- Felt glue (or all-purpose)
- pipe cleaners (I used 5)
- green felt (I used Loop and Threads 100% wool, very thick, 1 roll 12×12 sufficient)
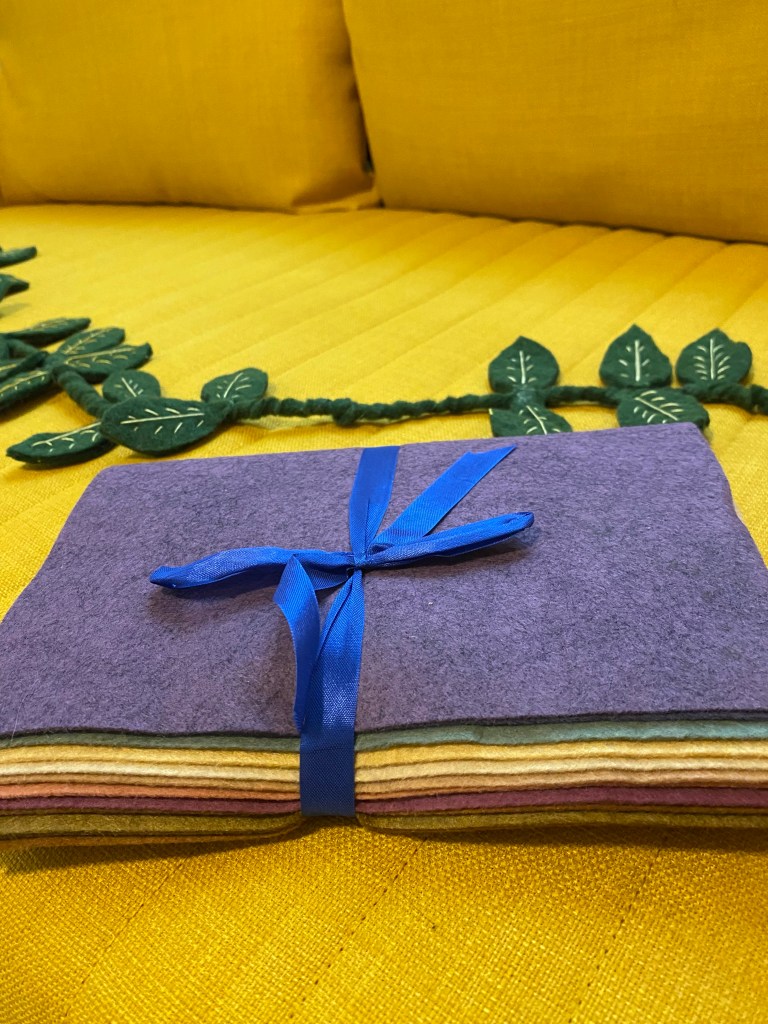
- felt of assorted colors (I got my felt from Benzie Designs)
- yellow embroidery thread
- scissors, pins, large eye needle
I spent about $22 dollars on felt and supplies for this project. I already had the pipe cleaners and embroidery thread. This is way less than the original price but it is now steeply discounted.
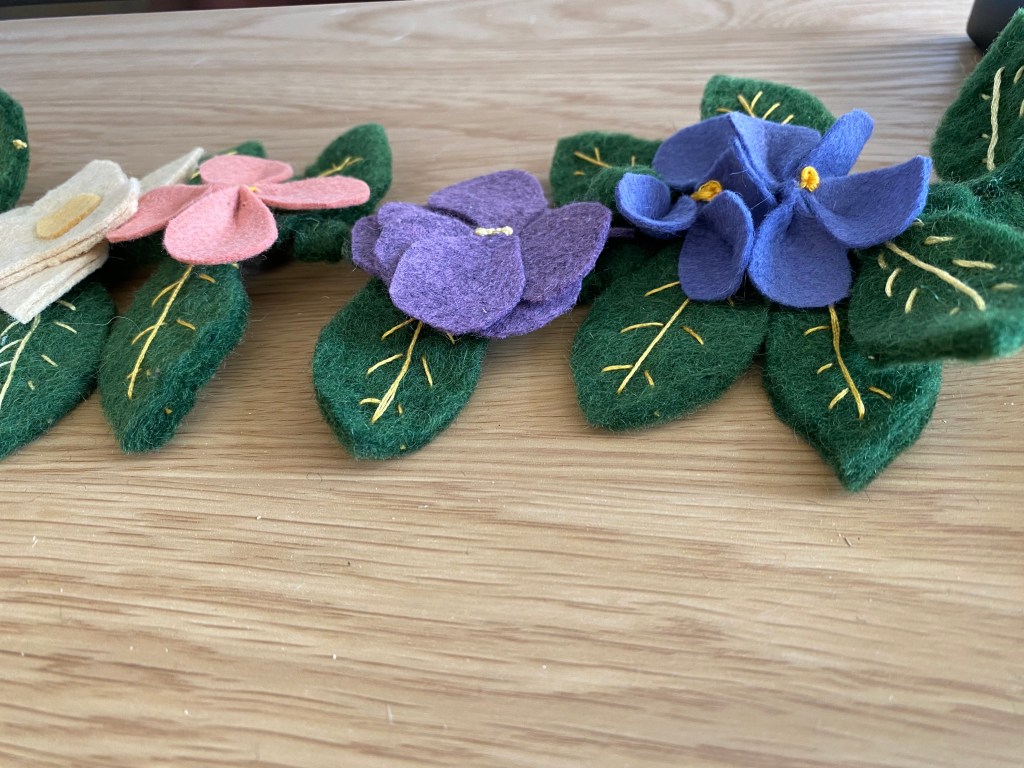
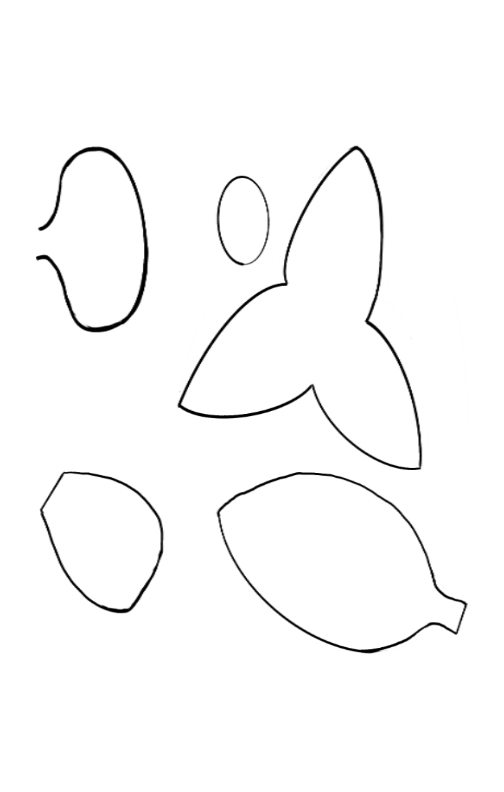
Print out or draw your own templates for the leaves and flowers. I cut 42 green leaves, 12 three-point yellow flowers, 20 light purple flat, 24 purple four petal flowers, 4 three-point pink flowers, 1 pink four petal flower, and 3 centers
Twist your pipe cleaners together to form the base of the garland. Create a loop at either end of the chain. If you used green pipe cleaners, great you can skip the next step! If you used brown like me then cut thin (but not too thin!) strips of green felt and wrap them around the pipe cleaners and glue in place.
Using yellow embroidery thread, stitch the veins of the leaf. My green felt was thick, so I placed my needle in the middle of the felt at the “stem”, and stitched the long middle vein, then worked my way down and back up, pulling my needle again through the middle of the felt to finish, not bottom of the felt, so the embroidery would only be on one side. The felt was so plush if you pull firmly and cut close you can hide your start and end points. When making the little veins, imagine a little staircase to help you place your stitches evenly. The nice thing about felt though is if you don’t like how it came out, it’s easy to pull out and try again!
Glue your flowers together. For the 3 point flowers, I used four pieces of felt for a thicker flower. Glue pieces together by twos, ending up with 6 pieces. Then take 2 pieces, place together, and turn top clockwise until you can see all the petals. Glue together. Glue center circle.
For the flat flowers, I used some scrap felt to cut a small square, and used that to glue the petals to. Working one layer at a time, place your petals and glue in a clockwise direction, filling in close together to avoid any blank space. Once dry, French knot 2 or 3 stitches for yellow part.
For the four petal flowers, glue the bottom part of the petal together, hotdog style. I used some needles to hold the petal in place while it dried. Once dried, use a small scrap felt as a base, and glue the petals to it. I had to pinch mine a bit so they stayed put. Use embroidery thread again for the yellow middle.
Once your component parts are made, glue the leaves and flowers along the garland. I left a few inches on either side blank. I grouped the leaves in twos and threes, and did my best to scatter the flower colors evenly. Enjoy!

