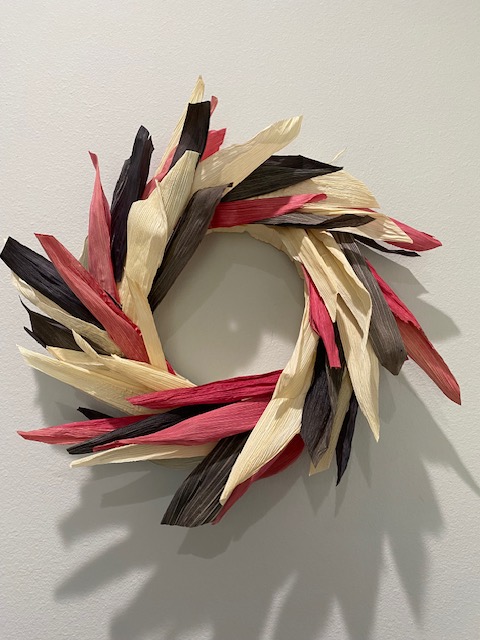


The inspiration for this wreath comes from Williams-Sonoma, which is selling a beautiful Halloween version for about $100. There are plenty of tutorials online on how to make your own corn husk wreath, but they definitely fall more into the rustic farmhouse aesthetic. I liked this one because it has clean lines and from a practical standpoint, is less likely to shed little pieces of straw. I chose red and black dye, but of course any color will do. If I ever do this again, I would love to try a dark mulberry/black color combo.
Supplies:
- Styrofoam wreath form ($11 at Joanns)
- Corn husks ($6 from local grocery store.)
- Dye ($10)
- Glue gun, sticks, pins, scissors
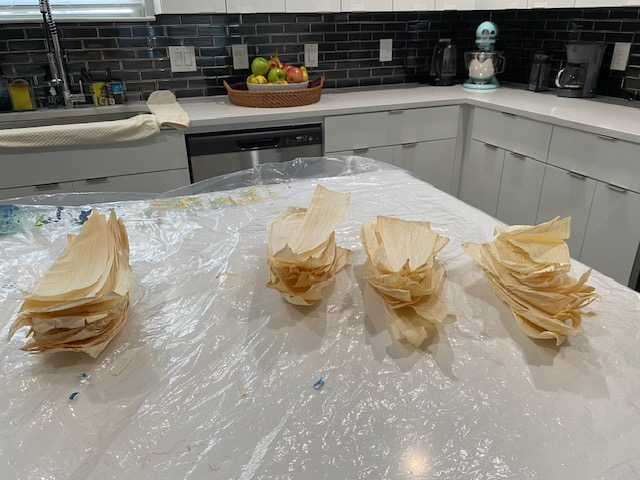
- Separate your corn husks into 3 piles. I used 10 husks in each group, and had a few leftover in the end. Using scissors, cut each husk in two lengthwise. Cutting ensures pointy ends once we start assembling the wreath.
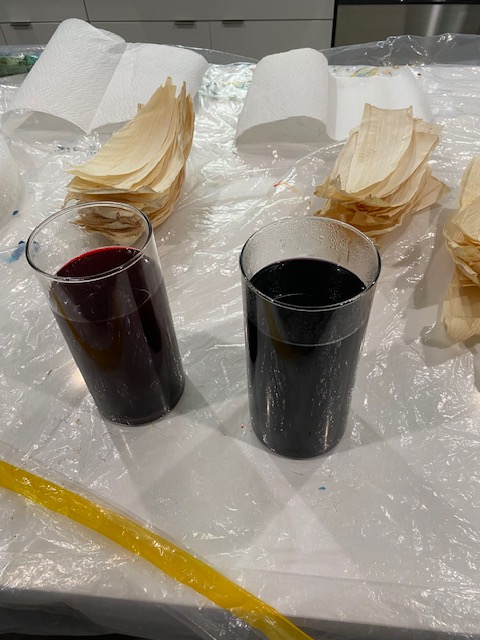
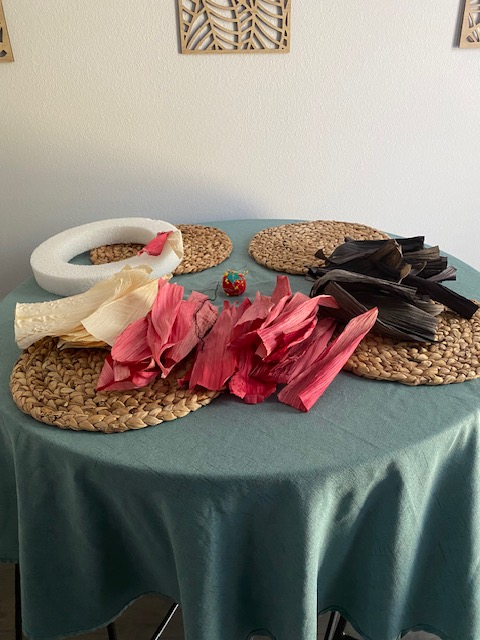
- Follow manufacturers instructions for dyeing the husks. I used this tutorial: https://www.ritdye.com/2017/11/15/dyed-corn-husks/. I dyed two piles, one red and one black, and left the third pile natural. Also, if you don’t have something already, a plastic couch cover has been very useful in protecting my kitchen countertop whenever a project is messy. It’s cheap, durable, and much more easy to store than the big blue heavy duty tarps. I let my husks dry overnight.
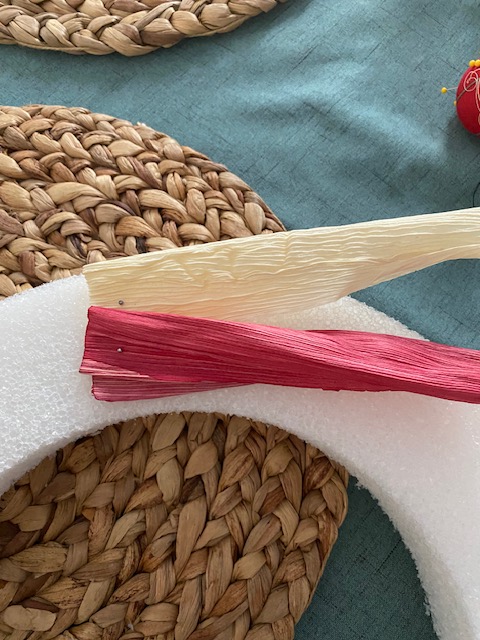
- Pin the first couple of husks in place to ensure you like the pattern you are making. (Measure twice, cut once!). My first attempt it looked more like a sunburst pattern, so I’m glad I didn’t start gluing right away. Once you are satisfied, glue the husks to the wreath, tucking the new husk under the old to ensure no glue is seen. I also folded the husk the half lengthwise to get that sharp end I like. You could also pin the entire thing, but I didn’t go that route as I don’t have a ton of pins.
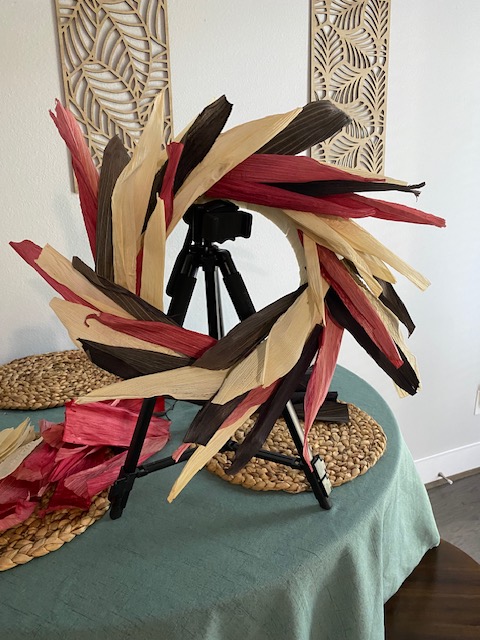
- Cover the inside and top of the wreath with the remaining husks, following the same direction you are working in. Again, tuck the new corn husk under the old so there are no gaps. Sometimes I have a flash of genius, and went and pulled out a tripod I’ve used once for Christmas photos to hold the wreath up while I was working. It really took some of the frustration out of the process.
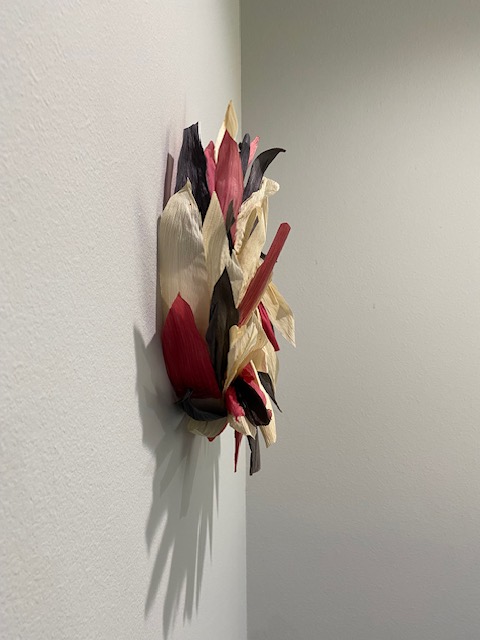
- Once the wreath is covered, step back look for any straggly ends. I cut quite a few husks so the ends were sharp and clean, and I think it made a big difference in the overall look. To hang the wreath, I took a bit of craft wire I had on hand and fashioned a little loop.
- And done! It took me a little over 2 hours to glue everything and I’m pleased with how it came out. If I try it again I might try cutting the husks lengthwise and in half, see how that turns out.